Adopting a pet is a big decision that requires careful consideration. While some people may be inclined to go to a breeder or a pet store to find their new furry friend, others may choose to adopt from a local animal shelter or rescue organization. Adopting a stray cat, in particular, can be an incredibly rewarding experience for both the cat and the adopter. Here are some ... READ MORE
The Plantdemic and How I found Joy in Gardening
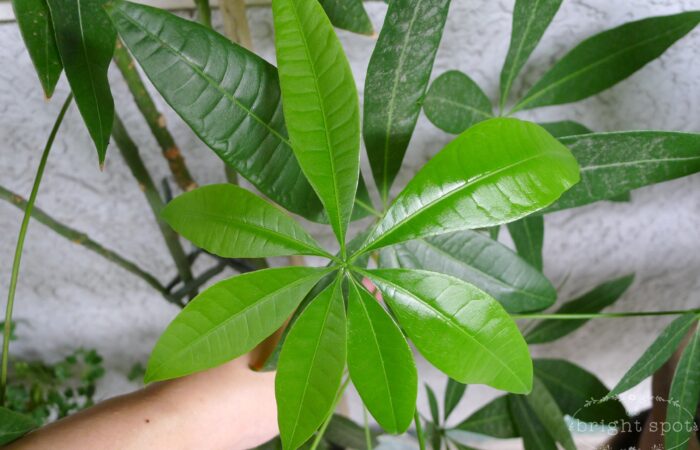
Let's talk about plants! Like you, I was not immune to the 'plant craze' or 'plantdemic' that made people discover the joy of gardening during the pandemic. In just a year, I have not only bought new plants but also new pots, plant stands, loam soil and even gardening tools! I have learned how to re-pot plants, trim them and even propagate some. Unlike others though, I ... READ MORE
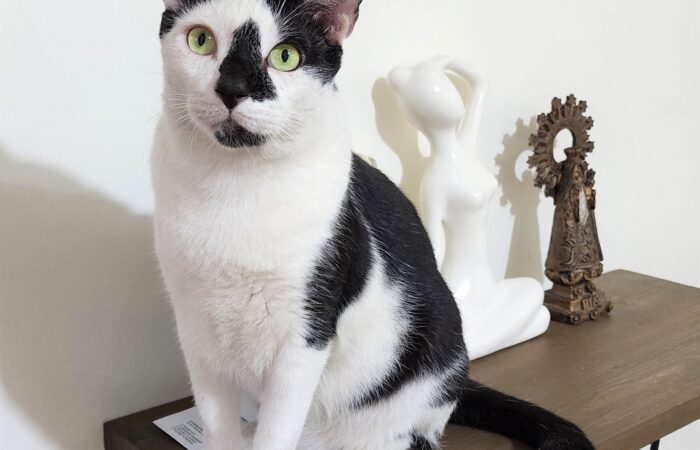
A Cat’s Tale

Exactly 2 months ago today, I woke up to AJ's very excited voice saying that there's a cat outside our door and drinking from the water that I will use for the house plants. You see, AJ is what I call a cat whisperer and you have probably seen in our travel photos that a cat almost always find itself in the picture, being pet by AJ who else? Although I'm a big fan of ... READ MORE
The start of my tea cup collection

Remember the Royal Albert tea cup and saucer set I gifted myself with for my birthday this year? I bought that from @paperstrawlove, an IG seller carrying the finest brands of home and kitchenware. Her catalog of vintage tea cups is to die for! Since then, I have been dreaming of my own tea cup collection. I am especially drawn to those in white, black, gold and blue ... READ MORE
The Bobby and the Guard
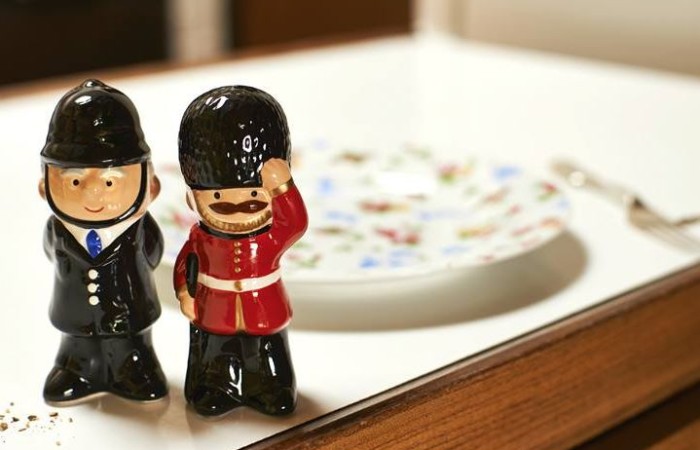
This isn't much of a blog post. I stumbled across this salt and pepper shaker set in the shape of a British bobby and a guard, which I think is too cute not to share! Quirky British touch + vintage design + floral plate in the background. Parang Cath Kidston noh? It's from Cath Kidston nga! Oh please be mine! ... READ MORE
On budgeting household expenses
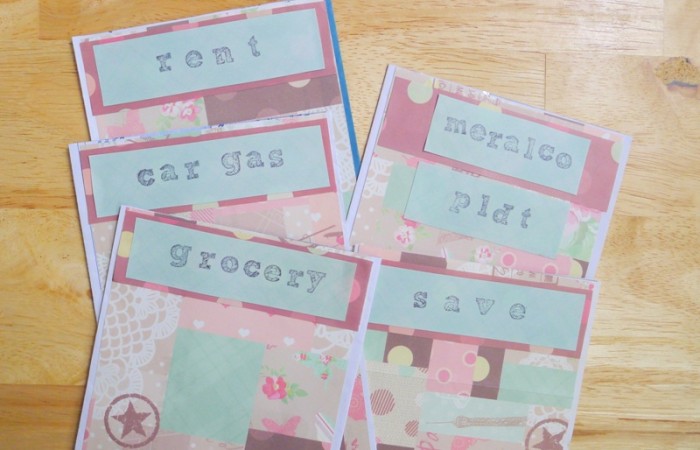
How do you budget your household expenses? I do it the very traditional way - through the "envelope system". Yes, these are the actual budget envelopes that I use. They are made of recycled mail envelopes, prettified with craft papers and alphabet stamps I got from Divisoria last year. I used to have an old set of these envelopes, made also from recycled mail ... READ MORE
A Photobook {Give Away}!
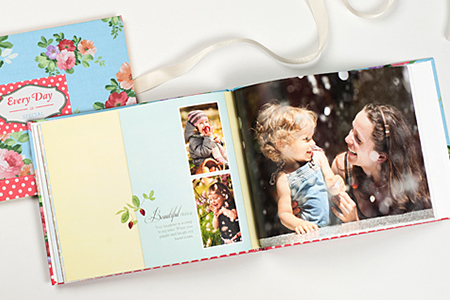
I was on a 'spring cleaning' mode last weekend, but instead of cleaning cabinets and storage boxes, I cleaned my computer files and personal emails at home. As a result, I was able to free up a big chunk of space in both my PC and email storage space. Among the already forgotten emails that I found is this voucher I bought from Photobook Philippines way back in 2010, for an ... READ MORE
Sweet Birthday Moments
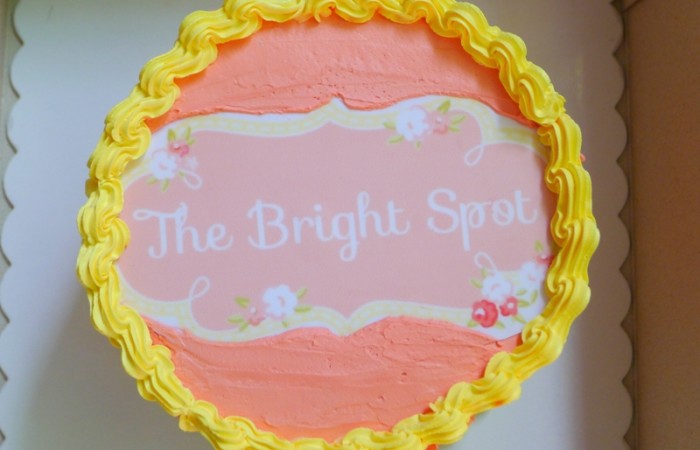
A big THANK YOU to all who greeted me on my birthday last Thursday! And in case you didn't know, The Bright Spot also turned 1 last February 5 so it's like a double celebration for me. AJ also surprised me with my favorite New York Cheesecake from Purple Oven and baked this Sugar-Dusted Moroccan Chocolate Cake na naubos agad! I chose to celebrate my turning 36 ... READ MORE
- 1
- 2
- 3
- …
- 10
- Next Page »